
Have you ever walked into a room and wondered how the temperature stays just right, no matter what’s going on outside? It’s likely that a package unit is doing all the hard work. If you’re new to this concept, don’t worry—you’re not alone. Let’s unravel this whole package unit process together, and break it down into manageable steps.
Get Your Free Air Conditioning HVAC Estimate Now!
What Is a Package Unit?
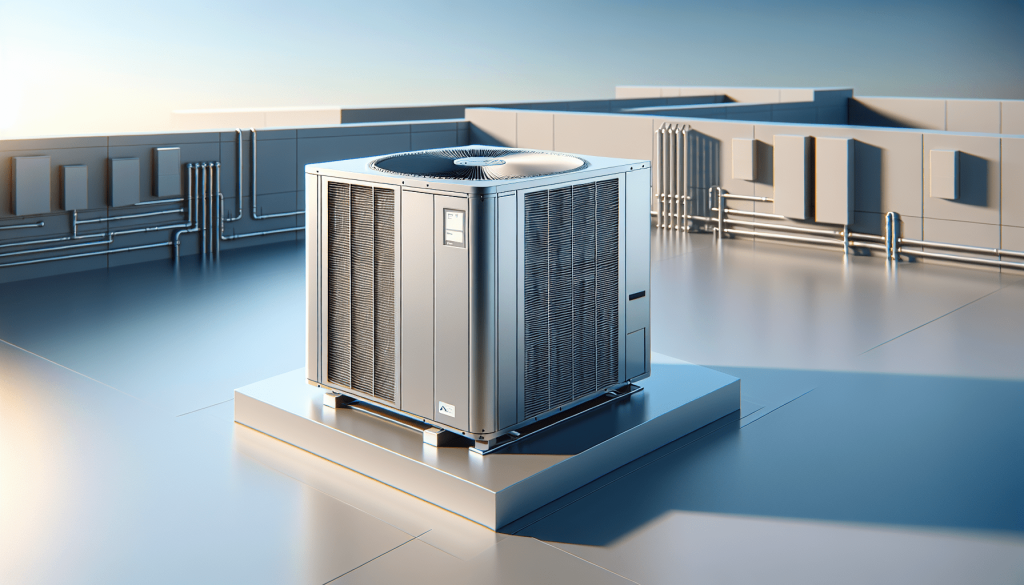
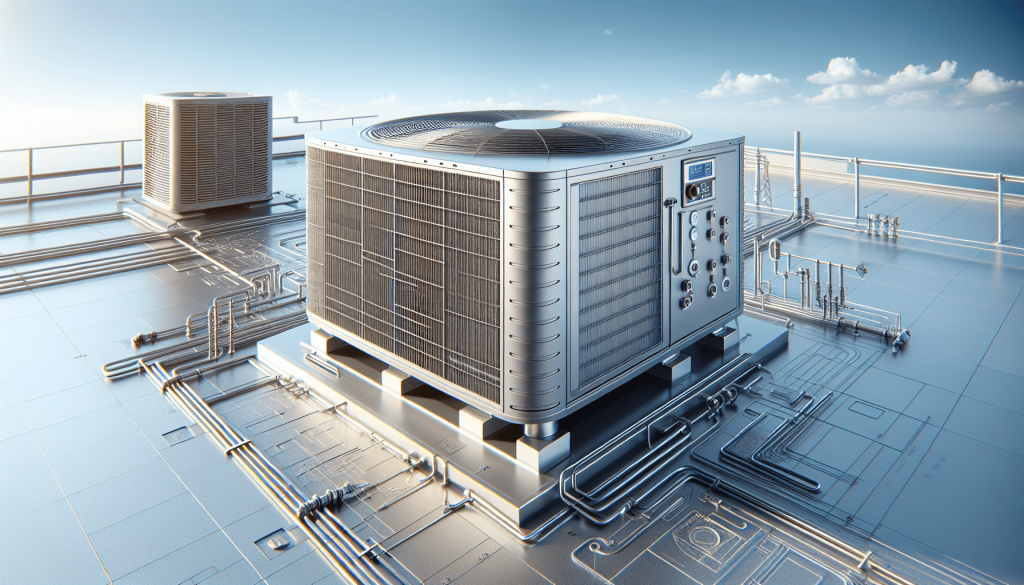
To kick things off, let’s get on the same page about what exactly a package unit is. In the realm of heating, ventilation, and air conditioning (HVAC), a package unit houses all the necessary components in a single, streamlined system. This includes the compressor, condenser, and the fan coil, all snugly packed into one neat box. In other words, it takes everything that typically comes in separate units and meshes it into one.
These units are often found on the rooftops of buildings or placed on a concrete slab beside the property. They are a popular choice for both residential and commercial buildings where space is at a premium.
Why Choose a Package Unit?
You might be wondering why someone would opt for a package unit over traditional split systems. The answer is quite practical. First, you save on space since there’s no need to accommodate separate indoor and outdoor components. Second, they tend to be lower in installation costs since everything is contained in one unit, simplifying the process for HVAC specialists.
Package units also eliminate the need for extensive ductwork, particularly useful in older buildings or places where retrofitting ductwork could be costly or disruptive. Additionally, they offer efficiency and flexibility. Whether heating or cooling is needed, these units can handle it, all while being relatively easy to maintain.
Types of Package Units
Not all package units are created equal. There are different variations to suit different needs and preferences, such as:
1. Gas/Electric Package Units
These units combine electric air conditioning with a gas-powered furnace, giving you the best of both worlds: the efficiency of electric cooling and the potency of gas heating.
2. Heat Pump Package Units
These are ideal for climates that experience milder winters, as they can both heat and cool by reversing the refrigeration cycle.
3. Dual-Fuel Package Units
If you live in an area that experiences a wide range of temperatures, dual-fuel units are an excellent choice. They switch between electricity and gas, optimizing for energy efficiency based on the current temperature.
4. Air Conditioner Package Units
These units focus solely on cooling and may come with electric heat strips for occasional heating needs.
Click for Complimentary Free Air Conditioning HVAC Quote!
What to Consider Before Installation
Deciding to install a package unit isn’t a one-size-fits-all affair. Let’s walk through some preliminary considerations that’ll help you make the best choice:
Space Availability
Ensure there is enough space to accommodate the unit. Whether it’s on the roof or the ground, the location needs to be accessible for installation and future maintenance.
Energy Efficiency
Look for units with a high Seasonal Energy Efficiency Ratio (SEER) rating, which measures cooling output versus electricity usage. The higher the SEER, the better the energy efficiency.
Climate Compatibility
Match your choice of a package unit with your climate conditions. As mentioned earlier, dual-fuel systems offer versatility for regions with varying climates, while heat pump units suffice for milder areas.
Budget Constraints
Factor in both the installation and long-term operating costs. A professional consultation will provide a clear picture of what aligns with your budget.
Step-by-Step Package Unit Installation Process
Let’s unfold the actual installation process. Even though a professional should handle it, understanding each step demystifies the operation for you:
1. Site Preparation
This involves clearing the area where the unit will be placed. If it’s going on the roof, a structural assessment ensures it can support the unit’s weight.
2. Positioning the Unit
The HVAC technicians will place the unit in its designated area. If it’s a rooftop installation, cranes may be involved to lift and maneuver the unit into place.
3. Connecting the Ductwork
Next, the unit is connected to the existing ductwork system. This step may include removing or sealing off old, inefficient ducts and verifying that the air distribution will be seamless throughout the property.
4. Electrical Wiring
Skilled electricians ensure that the unit is wired correctly to your property’s electrical supply, securing connections to prevent any future system failures.
5. Gas Piping (if applicable)
For gas-powered unit components, such as a gas furnace, installing proper gas lines is crucial. Here, safety checks are mandatory to prevent leaks.
6. Refrigerant Charging
Technicians will check and charge the refrigerant, ensuring it meets the specific requirements of the installed unit for effective cooling.
7. System Testing
Before wrapping up, the entire system is fired up and tested. This includes checking airflow, thermostat operations, and diagnosing potential issues to ensure everything is working smoothly.
Benefits of Professional Installation
Sure, it can be tempting to turn package unit installation into a DIY project to save some cash. However, working with professionals, like those at TES Heating & Cooling, offers undeniable advantages:
Expertise and Experience
Professionals bring years of experience and training to the table, which translates into swift and precise installations.
Safety Assurance
Qualified technicians adhere to safety standards, particularly when dealing with electrical and gas connections, minimizing risks and ensuring compliance with local codes.
Efficiency Optimization
A professional will fine-tune the system, maximizing its efficiency right from the get-go. This optimization could lead to substantial energy savings over the unit’s lifespan.
Warranty Protection
Professional installation often maintains your warranty’s validity—something DIY installations may void. This protection is vital if future repairs or replacements become necessary.
Routine Maintenance and Troubleshooting
Once your package unit is installed, do you just forget about it? Absolutely not. Just as with cars, a little preventative maintenance can go a long way in extending the lifespan of your HVAC system:
Regular Inspections
Plan for at least two annual inspections—before summer and winter. During these check-ups, filters should be replaced, and components like coils and fans should be cleaned.
Monitoring Efficiency
Keep an eye on your energy bills. A sudden spike could indicate your system isn’t running as efficiently as it should, signaling it’s time for a tune-up.
Addressing Minor Issues Promptly
Whether it’s unusual noises or inconsistent temperatures, small hiccups should be addressed before they become major problems. An early call to TES Heating & Cooling could save you significant hassle and cost.
Common Package Unit Installation Challenges
Though package units simplify HVAC needs, they’re not completely devoid of challenges. Being prepared can make all the difference:
Space Constraints
Rooftop installations require adequate space. Limited room might necessitate custom solutions or creative placement, which is where professional expertise is invaluable.
Structural Limitations
Older buildings may have structural limitations. Engineers might need to reinforce areas to safely support the unit, adding complexity to the installation process.
Climate Extremes
If you live in an area with extreme weather conditions, your unit might need additional modifications for durability, such as weather-proof coatings or advanced sealing techniques.
Cost Implications
All this talk of installation might leave you curious about costs. Here’s a rough breakdown to help you budget appropriately:
| Component | Estimated Cost Range |
|---|---|
| Package Unit Price | $2,500 – $10,000 |
| Installation Labor Fee | $1,000 – $3,000 |
| Additional Ductwork | $500 – $3,000 (if needed) |
| Electrical & Gas Line Setup | $300 – $1,500 |
| Miscellaneous (permits, etc.) | $100 – $500 |
Bear in mind, these are general estimates. Prices can vary based on specifics like your property’s size, location, and the unit’s complexity.
Summing It All Up
Hopefully, you now have a solid grasp of what goes into a package unit’s installation process. From understanding the unit types and considering preliminary factors, to ensuring smooth installation and maintenance, you’re equipped with foundational knowledge. If installing a package unit is part of your plan, you can approach the process with confidence and clarity.
And remember, TES Heating & Cooling is always here to help guide you through any HVAC requirements, ensuring your comfort remains a priority no matter what season it is. Your comfort system is more than just a machine—it’s an investment in your quality of life.